 April 25, 2022|
How to Integrate Webmail with Gmail
Most of us use Gmail or yahoo emails. So, generally we check our Gmail and yahoo regular. Now, if you make a web mail for your company, it is trouble to check your mails from cPanel and then to web mail. We can use Gmail’s free “Email Integration” service to get rid of the trouble. You can add your company email to your Gmail so you can check your emails from your desktop or mobile device easily.
In this tutorial, we will learn how to integrate “[email protected] to Gmail. This task is very simple. There is only 2 tasks to do.
1. A configuration to send emails
2. POP3 Configuration to receive emails
First go to your Gmail settings.

Then you will see a settings page. Select “accounts and import” tab and click “add another email address that you own” (from the “sent mail as” section). You will see a pop up like this. Add your or your company name to “Name” and set the email address with your email. Like [email protected] , now click the “Next Step”

Now you need to configure your SMTP server. You will see another form after clicking “Next step”. Set your Domain Name server (DNS) address to SMTP server. Username will be your email address and give you webmail password that you given while creating the web mail. Don’t change your port. Done, now you will receive a verification mail at your webmail. In that case the verification mail will be received by [email protected] .

Now go to your cPanel>>web mail and log in to your email.
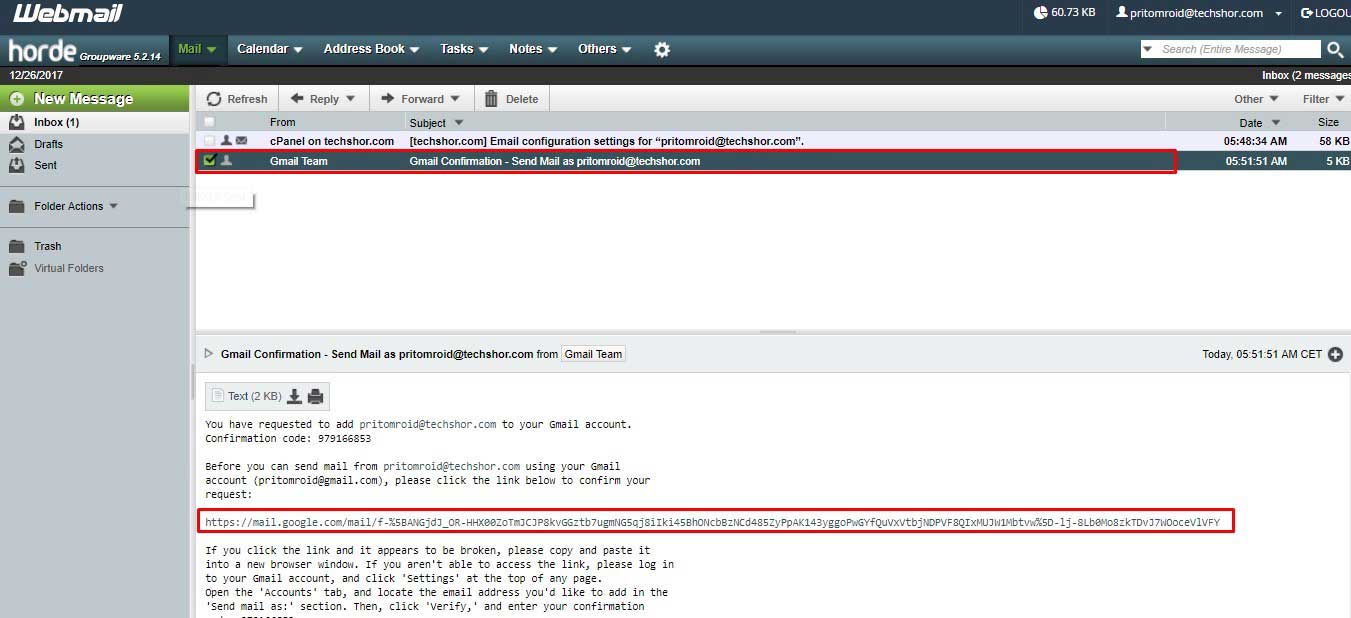
Confirm the verification link. You are done.
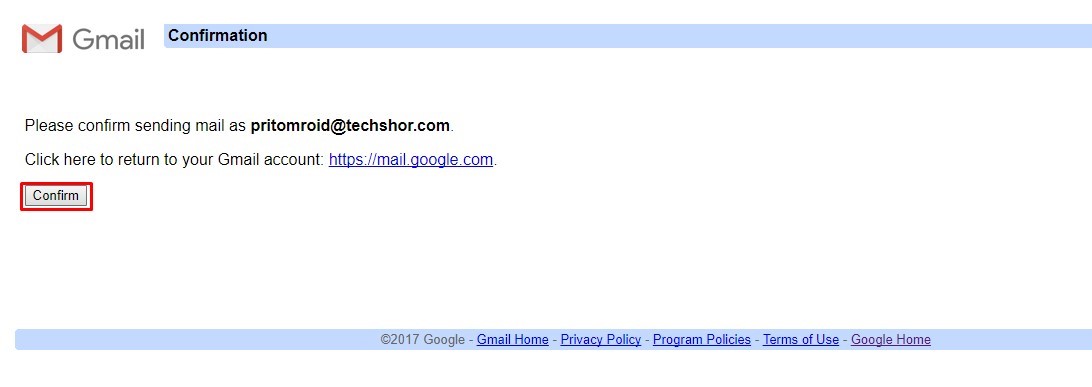
Now you can send emails from Gmail using your own email address. When you open send email option you will see your added email address “from” option.
We have one step left. You can send mail. Now you need to configure receiving emails. Go to “Send Mail as” option again. You will see POP3 configuration under there.
You will see “Check email from other accounts (using POP3):” option after going the “Check email from other accounts (using POP3):” link. Click “Check email from other accounts (using POP3):” and it will open a pop up like this.
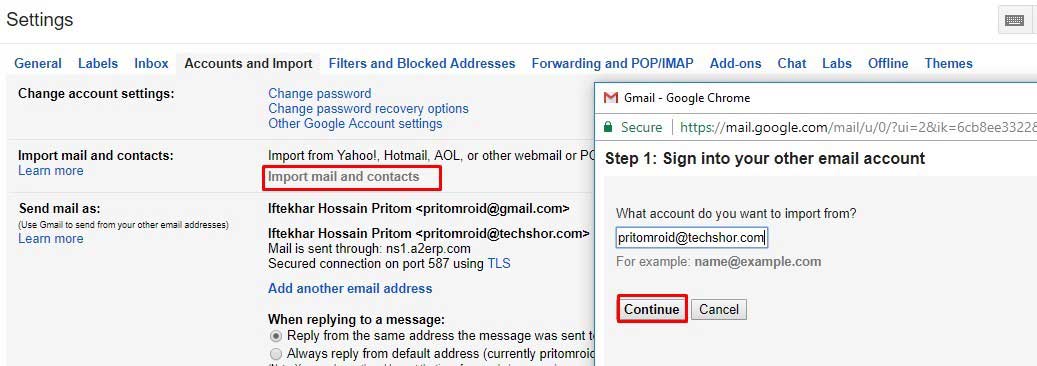
Give your email and click “Next step”
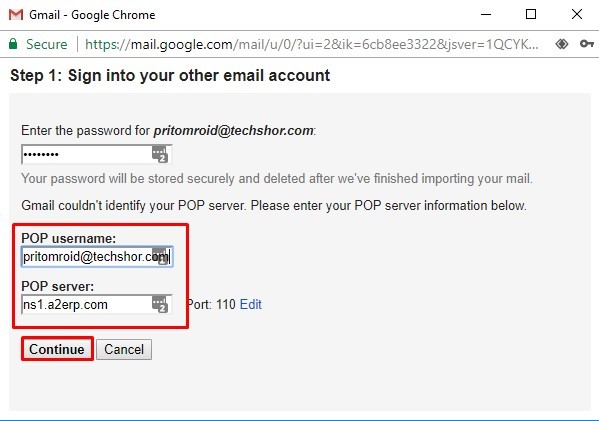
Add your email to the username section. Give your email password and your name servers on “pop server”. Don’t change the port. Tic the “Label incoming messages” option. You can set your own custom level here.
Tic “Archive incoming messages (Skip the Inbox)” option. It will not merge your emails and you can receive your company mails in a separate level.
After that, you can see a level created for your email.