 July 01, 2022|
How to add Mailchimp Subscribe Form on a WordPress Site (Step by Step)
MailChimp is an important email management web application. There is two version available for its user. Free and Paid. By using the free service you can send 12000 email to 2000 subscribers per month.
Today we will learn how to create a MailChimp account and add a subscriber form on our website.
Creating MailChimp Account
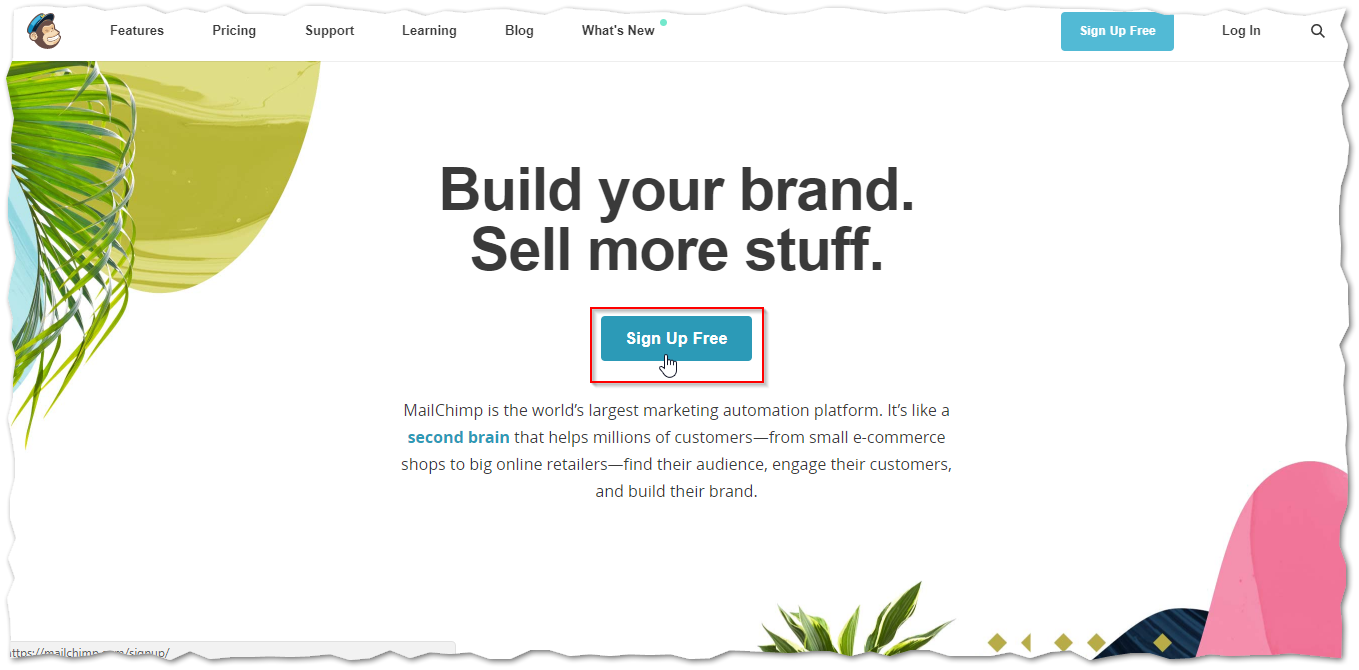
Step 1:
First, go to MailChimp website and click the signup button to create a new user account.
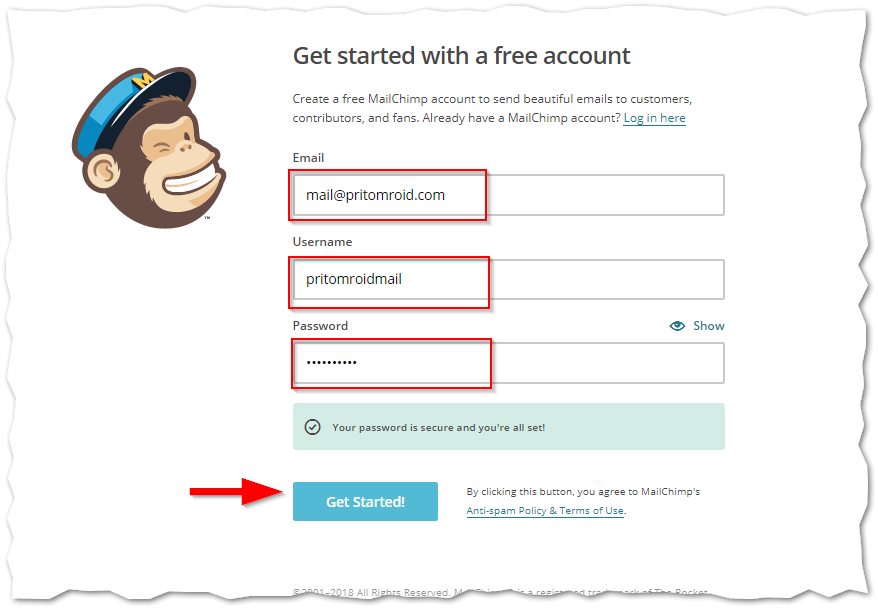
Step 2:
In the get started with MailChimp page, put your email id, create a username and password. Then press the Get Started Button.
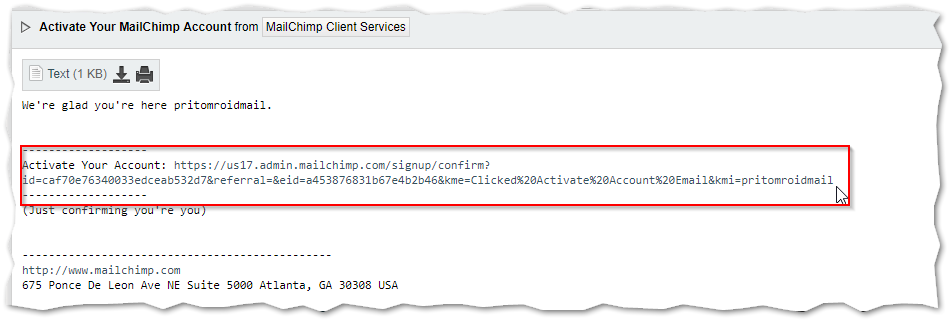
Step 3:
Check your email. You will receive an email verification mail shortly. Click the link.
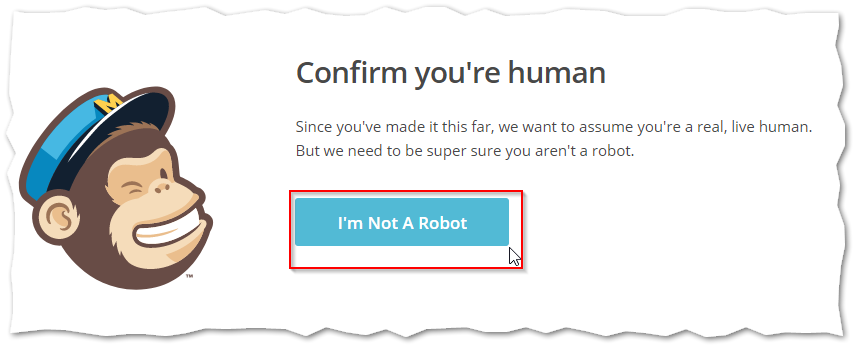
Step 4:
Then you need to confirm you are Human. Choose the right image captcha and proceed.
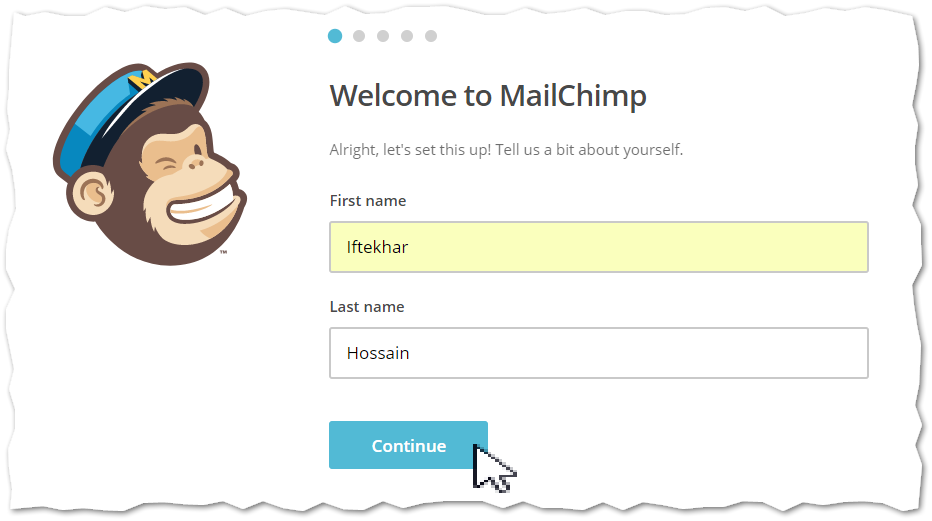
Step 5:
Now you need to complete 5 more step to create your ID. Add your First and last name.
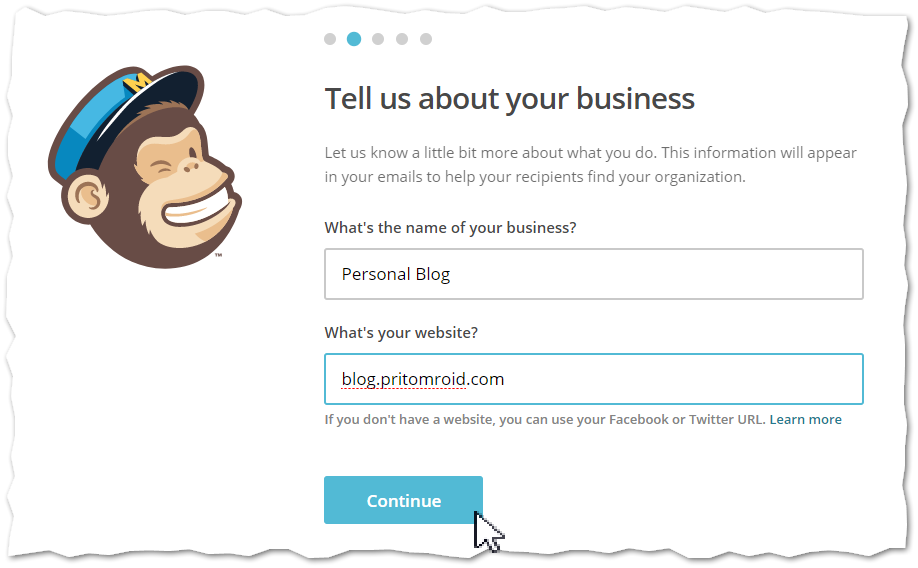
Step 6:
On the next page describe your websites nature and give your website URL.
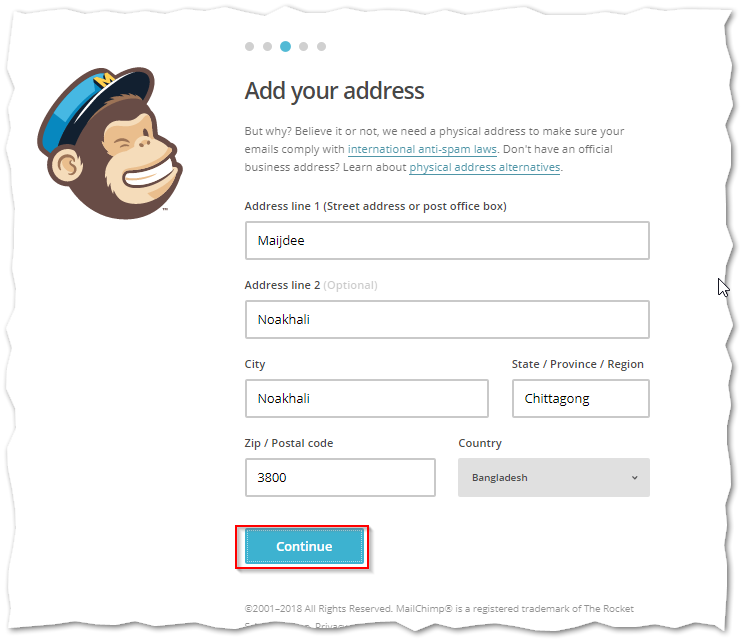
Step 7:
Complete your third step by adding your address.
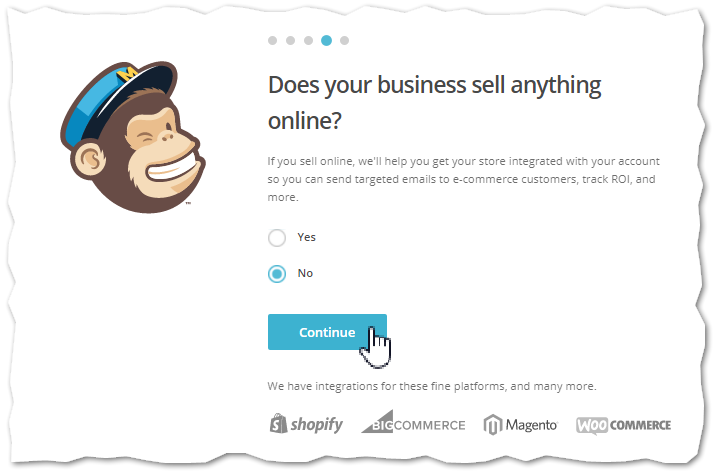
Step 8:
On the 4th step, they will ask you are you selling anything on your site or not. As we are creating a MailChimp id for our blog, we selected no. click the continue button.
Step 9:
If you want to share your campaign on social Medias select it and proceed.

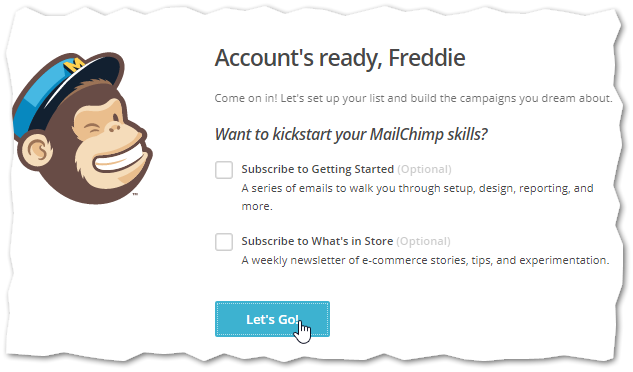
Step 10:
Now if you want to receive the latest updates from MailChimp you can select those options. If not then click the continue button without selection anyone.
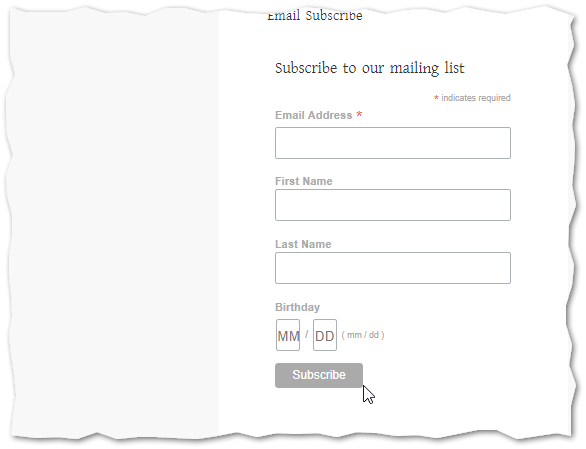
Creating the subscribe form
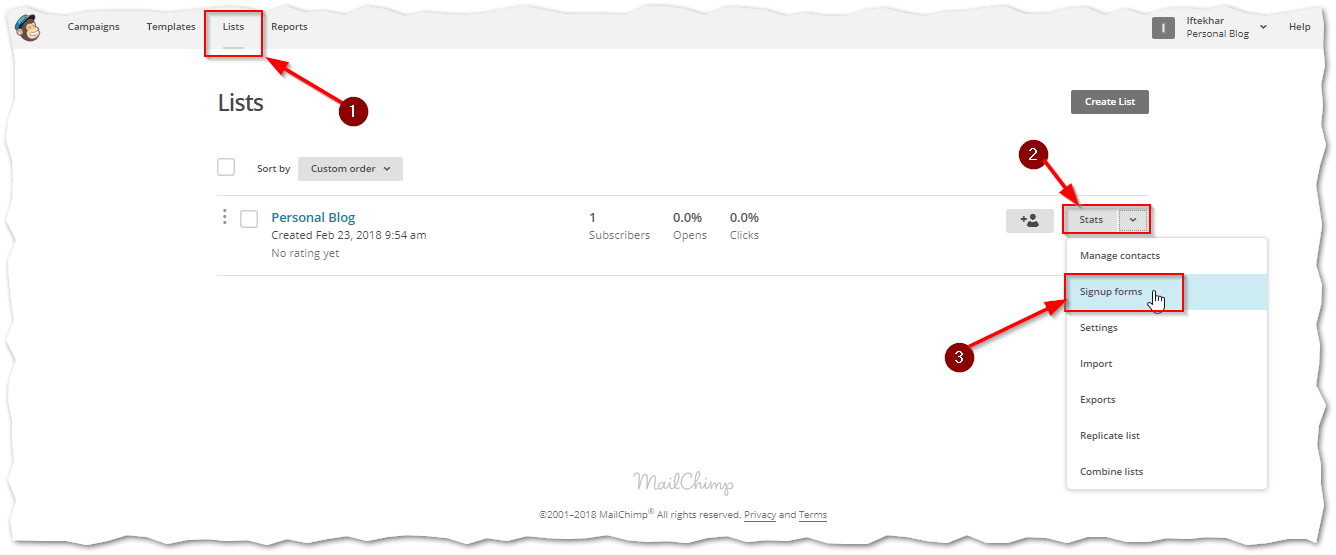
Step 1:
Select the list option from the top menu. Here you will find your lists. Click the drop-down button beside the Stats option and go to Sign Up form to create your first form.
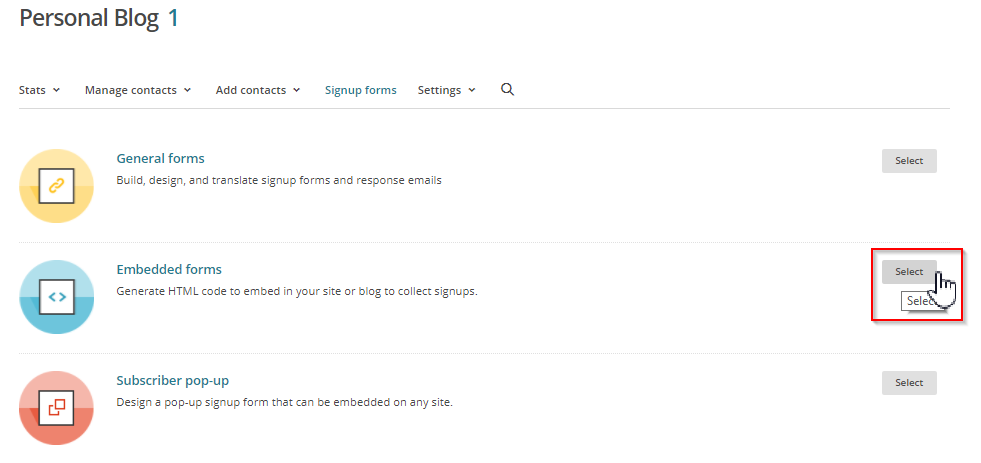
Step 2:
You will find different types of form there. We chose embedded forms. Click the select button to the right.
Step 3:
There you can customize your forms. Select your form types from the mentioned bar on the screenshot.
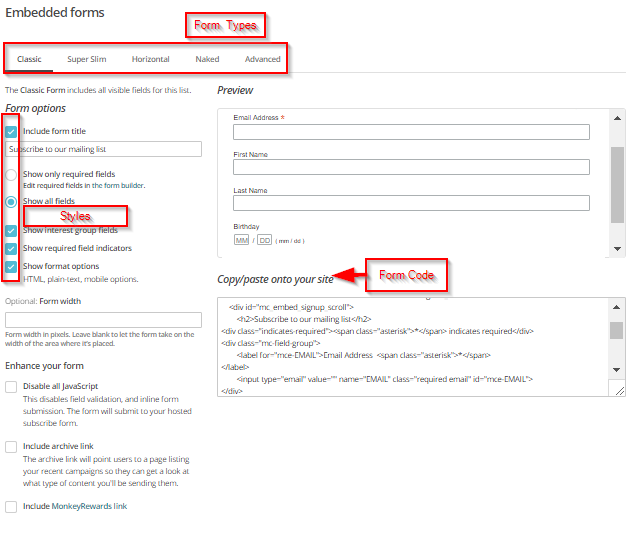
After customizing the form, copy codes to paste on your site.
Adding the Subscribe form on WordPress site
You can integrate MailChimp subscriber form to your WordPress site in different ways. You can use plugins to that easily. Also, you can use styles when you are using the plugin. If you know editing theme codes then you can put the subscribe from anywhere on your website.
A simple way is adding these codes to the widget area.
Step 1:
Go to Appearance>>Widget Option from your WordPress dashboard.
Add a new HTML widget and paste your code. Save changes.

Step 2:
Now go to your site. You will see your MailChimp email subscriber form working.